As a car enthusiast who’s spent countless hours tinkering with suspensions, I can tell you firsthand that upgrading your car’s suspension is one of the most rewarding projects you can tackle. Don’t only focus on lowering your ride or making it look cool – though that’s certainly part of the appeal.
A well-executed suspension upgrade can improve your car’s handling, comfort, and overall driving experience.
When I first started exploring suspension mods, I was overwhelmed by the sheer number of components and options. But as I dug deeper and got my hands dirty, I realized that understanding the basics could open up a world of possibilities for improving my ride’s performance and aesthetics.
In this guide, I’ll walk you through everything you need to know to start your own suspension upgrade journey.
Understanding Suspension Basics
Before we dive into specific upgrades, it’s crucial to understand the key components of a typical suspension system:
1. Springs
Springs are the workhorses of your suspension, supporting the weight of your vehicle and absorbing impacts from the road. They come in various types, including coil springs (the most common), leaf springs (often found on trucks and older vehicles), and torsion bars (less common, but used in some vehicles).
2. Shock Absorbers (or Struts)
Shocks and struts control the movement of the springs, preventing excessive bouncing and keeping your tires in contact with the road. They’re filled with oil and use hydraulic pressure to dampen spring oscillations.
Struts mix the shock absorber function with a structural support role.
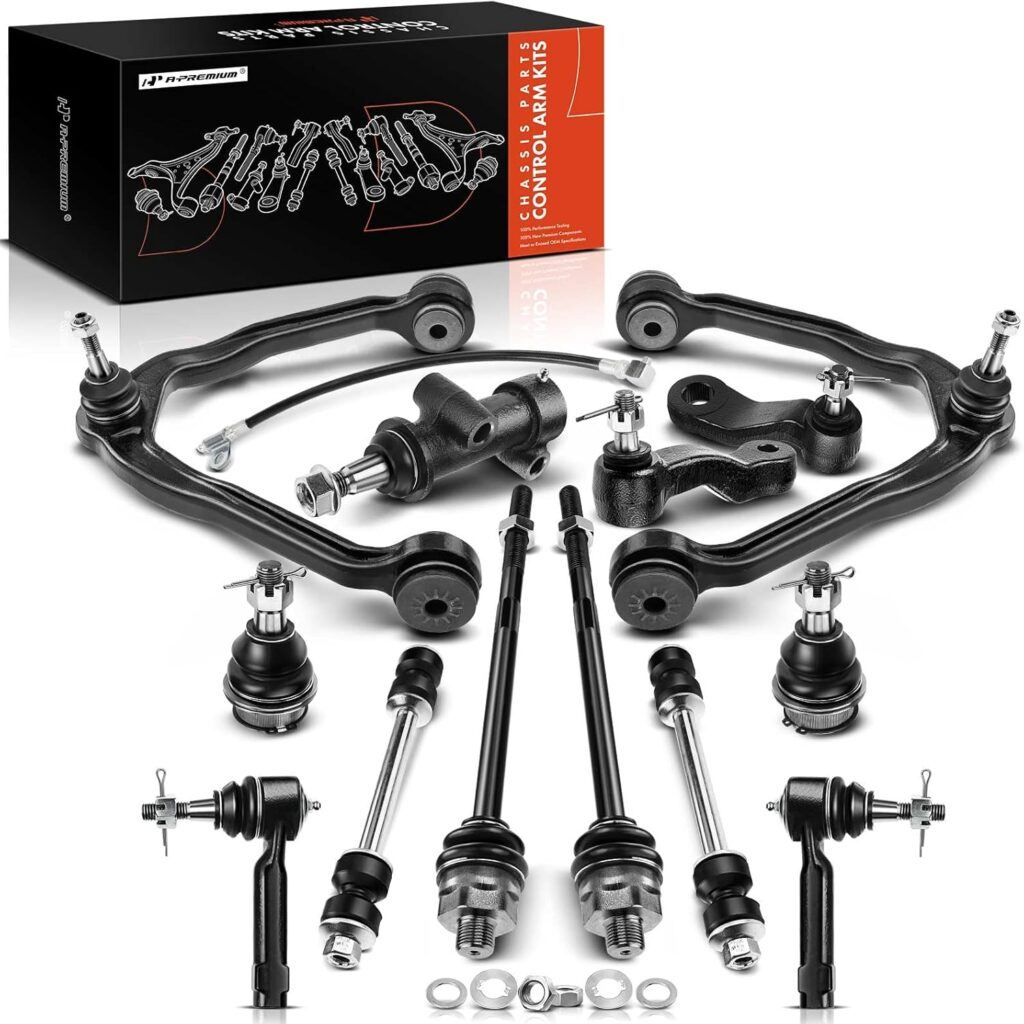
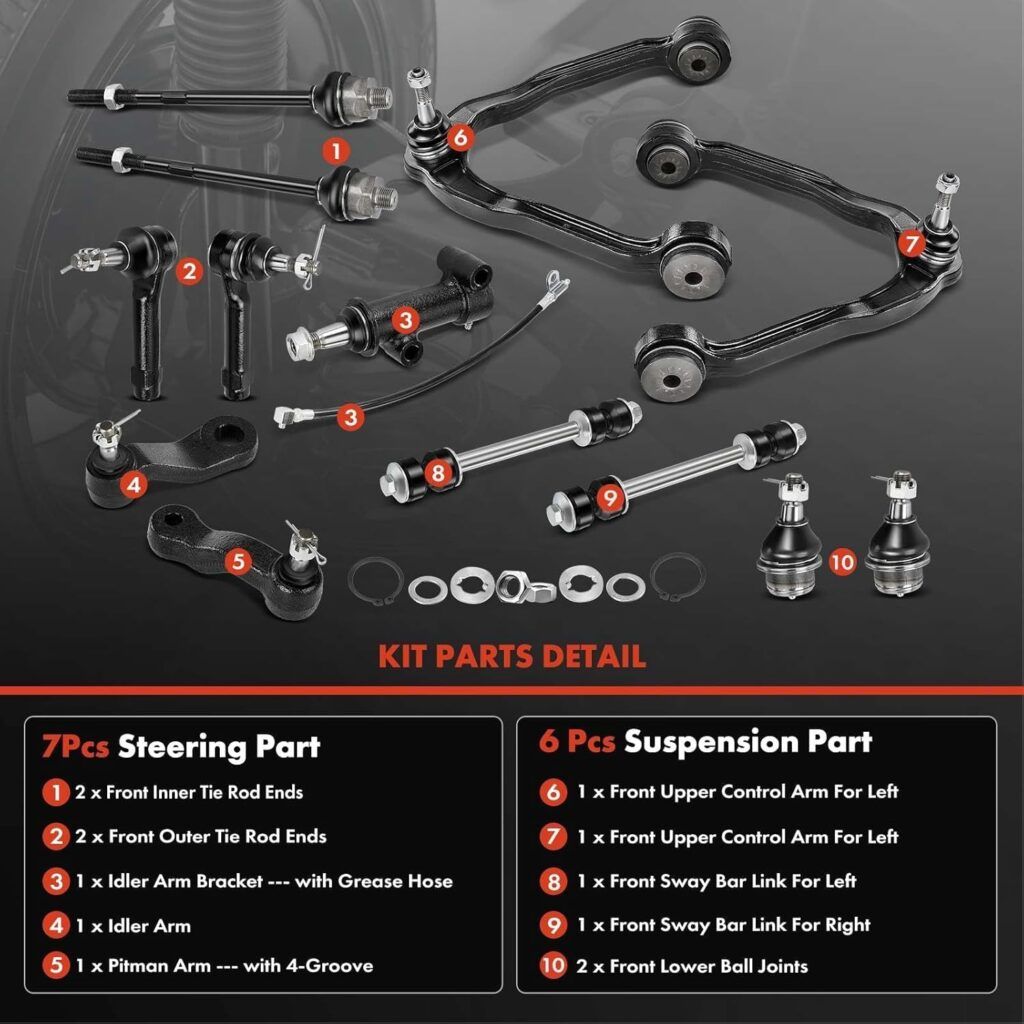
3. Control Arms
These components connect the wheels to the frame of the car, allowing for vertical movement while maintaining proper wheel alignment. Depending on the suspension design, you might have upper and lower control arms, or just lower control arms in the case of a MacPherson strut setup.
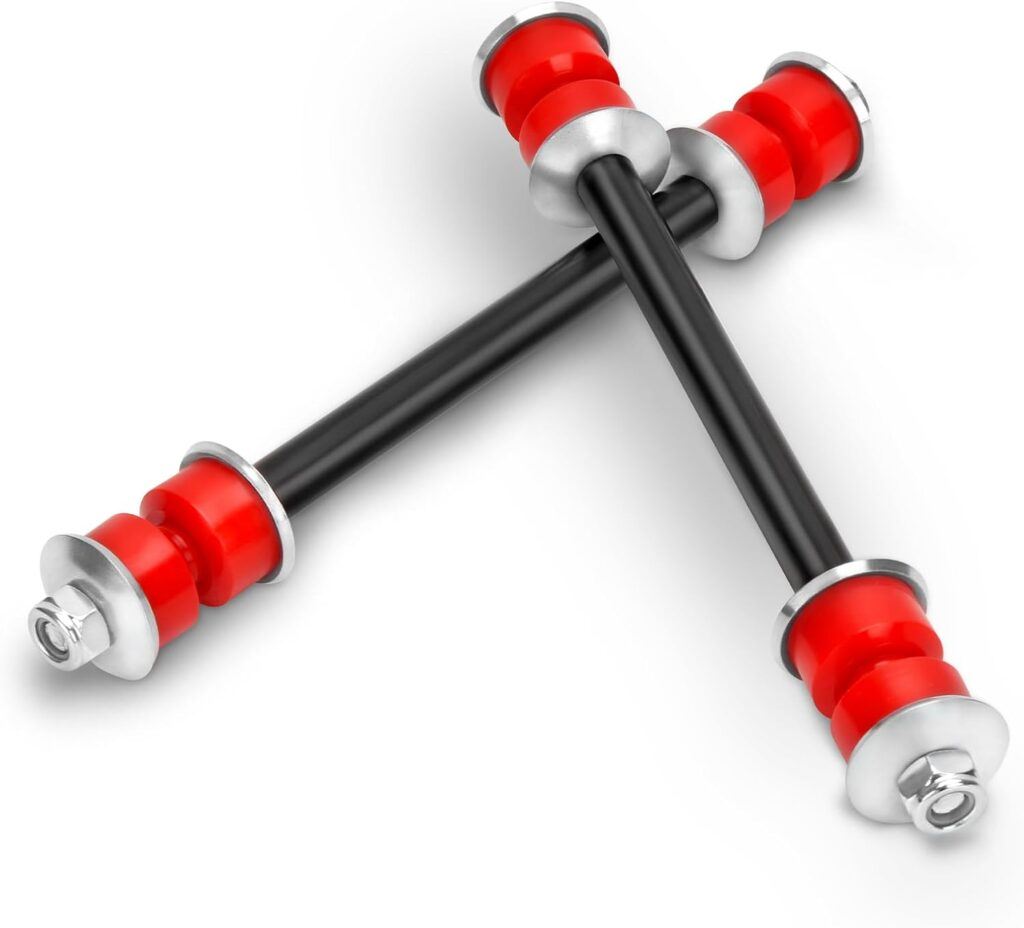
4. Bushings
Bushings are small but crucial components made of rubber or polyurethane. They’re used at various connection points in the suspension to reduce vibration, isolate noise, and allow for slight movement between parts.
5. Sway Bars
Also known as anti-roll bars, sway bars connect the left and right sides of the suspension. They help reduce body roll during cornering by transferring force from one side of the vehicle to the other.
These components work together in a carefully engineered system to maintain tire contact with the road, control body motion, and provide a comfortable ride. When you upgrade your suspension, you’re essentially fine-tuning this system to achieve better performance, comfort, or aesthetics – or ideally, all three!
Assessing Your Needs
Before you start ordering parts, take some time to think about your goals. Are you looking to improve handling for weekend track days?
Do you want a more comfortable daily driver?
Or are you after that slammed look for the local car meet? Your goals will guide your upgrade choices.
For improved handling, you might focus on stiffer springs, upgraded sway bars, and performance-oriented shocks or coilovers. If comfort is your priority, you might opt for high-quality shock absorbers with adjustable damping and softer springs.
And if you’re all about that low life, lowering springs or coilovers might be your go-to.
It’s also important to consider your budget and skill level. Some upgrades, like swapping out sway bars, are relatively straightforward and budget-friendly.
Others, like installing a full coilover kit, need more time, tools, and expertise.
Common DIY Suspension Upgrades
Let’s explore some popular upgrades that are well-suited for DIY enthusiasts:
1. Lowering Springs
Lowering springs are a great entry point for suspension mods. They lower your car’s center of gravity, improving handling and giving your ride a sportier look.
Here’s a basic step-by-step guide:
- Safely lift and support your vehicle
- Remove the wheels
- Compress and remove the stock springs
- Install the new lowering springs
- Reassemble and align
Pro Tip: Always replace springs in pairs (front or rear) to maintain balanced handling. Also, be prepared for a slightly firmer ride – that’s the trade-off for improved handling and aesthetics.
2. Coilovers
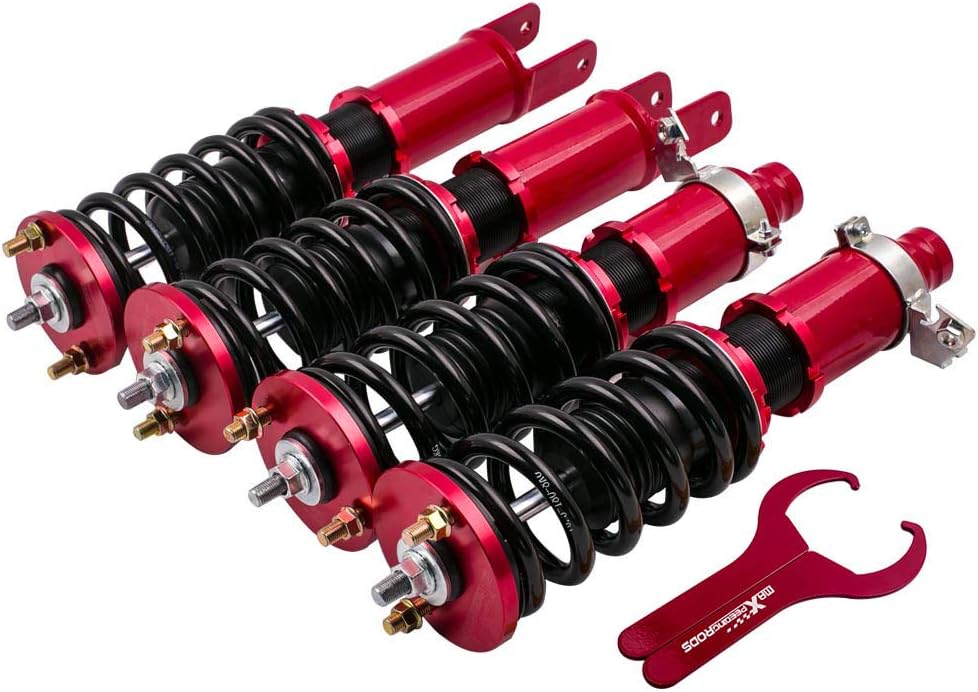
Coilovers offer more adjustability than lowering springs, allowing you to fine-tune both ride height and damping. They’re a bit more complex to install, but the results can be worth it:
- Remove the stock suspension components
- Install the coilover assembly
- Adjust ride height and damping settings
- Align the vehicle
Key Insight: Start with a conservative setup and gradually adjust to find your sweet spot between performance and comfort. It’s easy to go too low or too stiff, which can negatively impact daily drivability.
3. Sway Bars
Upgrading your sway bars can significantly reduce body roll during cornering. Here’s how to install them:
- Remove the stock sway bars
- Install new sway bar brackets if necessary
- Mount the new sway bars
- Adjust the end links
Remember, stiffer isn’t always better. A balanced setup between front and rear sway bars is crucial for predictable handling.
Too stiff of a front bar can lead to understeer, while an overly stiff rear bar can cause snap oversteer.
4. Bushings
Replacing worn rubber bushings with polyurethane ones can tighten up your suspension, improving responsiveness. The process varies depending on the specific bushings, but generally involves:
- Removing the suspension components
- Pressing out the old bushings
- Installing new polyurethane or rubber bushings
- Reassembling the suspension components
Be prepared for a potential increase in noise and vibration – it’s the trade-off for improved performance. Some drivers find this acceptable, while others prefer the quieter ride of rubber bushings.
Advanced Upgrades
Once you’ve mastered the basics, you might want to explore more advanced upgrades:
Adjustable Control Arms
These allow you to fine-tune camber and caster angles, which can be crucial for optimizing tire wear and handling, especially if you’ve significantly lowered your vehicle.
Air Suspension
Air suspension systems offer the ultimate in adjustability, allowing you to change ride height on the fly. They’re complex to install but offer unparalleled versatility.
Strut Tower Braces
These improve chassis rigidity by connecting the tops of the strut towers. They can noticeably improve steering response and overall handling, especially in older or more flexible chassis.
Subframe Connectors
These enhance overall frame stiffness, which can be particularly useful for unibody vehicles. They help reduce chassis flex during hard cornering or acceleration.
These upgrades need more expertise and often specialized tools, so make sure you’re comfortable with the basics before diving in. It’s also worth considering professional installation for some of these more complex mods.
Tuning and Maintenance
After installation, proper tuning and maintenance are crucial:
Alignment
This is non-negotiable after any suspension work. Proper alignment ensures even tire wear and optimal handling.
Even small changes in ride height can significantly affect your alignment, so don’t skip this step.
Corner Balancing
For performance applications, corner balancing ensures even weight distribution across all four wheels. This can significantly improve handling balance, especially for track or autocross use.
Regular Inspections
Check for wear, leaks, and loose components periodically. Pay special attention to bushings, ball joints, and shock absorbers, as these components can wear out over time.
Common Pitfalls to Avoid
In my years of working on suspensions, I’ve seen (and made) plenty of mistakes. Here are some to watch out for:
1. Over-Lowering
While a low stance looks cool, extreme lowering can lead to poor handling, damaged components, and a harsh ride. Make sure you maintain adequate suspension travel and ground clearance for your driving needs.
2. Mismatched Components
Ensure all your upgrades work well together. For example, pairing ultra-stiff springs with stock shocks can lead to poor ride quality and reduced performance.
3. Ignoring Ride Quality
Don’t sacrifice too much comfort for performance. Finding the right balance is key, especially for daily-driven vehicles.
4. Neglecting Alignment
Skipping this crucial step can lead to rapid tire wear and poor handling. Always get a professional alignment after suspension modifications.
5. Forgetting About Brake Lines and Other Components
Lowering your vehicle can put stress on brake lines, ABS sensors, and other components. Make sure these have enough slack and aren’t being stretched or compressed beyond their limits.
Adapting to Different Scenarios
There’s no one-size-fits-all solution in suspension upgrades. A track-focused setup might be too harsh for daily driving, while a comfort-oriented setup might not cut it for spirited weekend drives.
Consider having different setups for different uses if your budget allows.
For example, you could use adjustable coilovers to switch between a comfortable daily setting and a stiffer track setup. Or, if you live in an area with harsh winters, you might want a slightly higher ride height during snowy months to avoid scraping on snow and ice.
Building on Basics for Mastery
As you gain experience with basic upgrades, you’ll develop a feel for how different changes affect your car’s behavior. This intuition is invaluable as you move towards more advanced modifications.
You’ll start to understand the interplay between different components and how small changes can have big impacts on overall performance. For instance, you might notice how changing spring rates affects not just ride height, and weight transfer during cornering and braking.
Practice Makes Perfect
To really master DIY suspension upgrades, there’s no substitute for hands-on experience. Here are some exercises to build your skills:
Suspension Analysis
Take your car to an empty parking lot and perform some basic maneuvers (slalom, hard braking, quick lane changes). Note how the car behaves.
Does it understeer or oversteer?
How’s the initial turn-in response? How does it handle mid-corner bumps?
This analysis will help you identify areas for improvement.
Spring Rate Calculations
Learn how to calculate and adjust spring rates for your specific vehicle and goals. This involves understanding concepts like wheel rate, motion ratio, and natural frequency.
While it might seem daunting at first, understanding these principles will help you make more informed decisions about your suspension setup.
Damper Tuning
If you have adjustable shocks or coilovers, experiment with different settings and note the effects. Start with the manufacturer’s recommended settings, then try adjusting compression and rebound damping.
Pay attention to how these changes affect handling, ride quality, and overall balance.
Remember, every car is different, and what works for one vehicle might not work for another. The key is to approach each project with patience, careful observation, and a willingness to learn.
Tools of the Trade
Having the right tools can make your suspension work much easier and safer. Here’s a list of essential tools for DIY suspension work:
- Jack and jack stands
- Torque wrench
- Spring compressor (for coil spring replacement)
- Socket set and wrenches
- Pry bar
- Penetrating oil (for stubborn bolts)
- Alignment tools (camber gauge, toe plates)
- Coilover spanner wrench (for adjustable coilovers)
Investing in quality tools will save you time and frustration in the long run. Safety should always be your top priority when working on your vehicle, so never skimp on jack stands or other safety equipment.
Understanding Suspension Geometry
As you delve deeper into suspension modifications, you’ll encounter terms like camber, caster, and toe. These refer to wheel alignment angles that play a crucial role in your vehicle’s handling and tire wear:
Camber
This is the inward or outward tilt of the wheel when viewed from the front. Negative camber (top of the wheel tilting inward) can improve cornering grip, but too much can cause uneven tire wear.
Caster
Caster is the forward or backward tilt of the steering axis when viewed from the side. Positive caster improves straight-line stability and steering feel.
Toe
Toe refers to whether the wheels point inward or outward when viewed from above. Toe settings can significantly affect straight-line stability and tire wear.
Understanding these concepts will help you make more informed decisions about alignment settings and suspension modifications.
The Role of Tires
While not strictly part of the suspension system, tires play a crucial role in your vehicle’s handling and ride quality. Even the best suspension setup can be undermined by poor quality or inappropriate tires.
Consider factors like tire width, aspect ratio, and compound when choosing tires to complement your suspension upgrades. For example, a lower profile tire might improve responsiveness but could also result in a harsher ride.
Balancing Performance and Comfort
One of the biggest challenges in suspension tuning is finding the right balance between performance and comfort. This balance will depend on your personal preferences and how you use your vehicle.
For a daily driver, you might prioritize a setup that offers improved handling over stock, but still maintains reasonable ride comfort. For a dedicated track car, you might be willing to sacrifice some comfort for maximum performance.
The key is to be honest with yourself about how you’ll use the car most of the time. It’s easy to get carried away with creating the ultimate performance setup, only to realize it’s too harsh for your daily commute.
Documenting Your Progress
As you work on your suspension, keep detailed notes of your modifications and their effects. This documentation can be invaluable when fine-tuning your setup or troubleshooting issues.
Consider keeping a log of:
- Parts installed and their specifications
- Alignment settings
- Ride height measurements
- Subjective impressions of handling and ride quality
- Lap times or autocross results (if applicable)
This record will help you track your progress and make informed decisions about future modifications.
The Importance of Break-In Periods
After making significant suspension changes, it’s important to allow for a break-in period. New components need time to settle, and you need time to adjust to the new handling characteristics.
Drive conservatively for the first few hundred miles after major suspension work. This allows everything to seat properly and gives you time to identify any potential issues before pushing the limits of your new setup.
Legality and Safety Considerations
Before making any modifications, research local laws regarding suspension alterations. Some jurisdictions have strict rules about ride height, wheel fitment, and other aspects of suspension modification.
Also, consider how your modifications might affect your vehicle’s safety systems. Extreme lowering, for example, can interfere with the proper function of anti-lock brakes and stability control systems.
The Suspension Upgrade Journey
Upgrading your car’s suspension is a pathway of continuous learning and improvement. As you gain experience and knowledge, you’ll develop a deeper understanding of vehicle dynamics and how different modifications affect your car’s behavior.
Don’t be afraid to experiment, but always prioritize safety and drivability. Remember, the goal is to create a car that’s not just better performing, and more enjoyable to drive in all conditions.
Frequently Asked Questions
What is the best suspension upgrade for improved handling?
The most effective suspension upgrade for improved handling often depends on your specific vehicle and goals. However, a combination of quality coilovers or lowering springs paired with upgraded sway bars typically provides a noticeable improvement in cornering performance and overall handling.
How much does it cost to upgrade a car’s suspension?
Suspension upgrade costs can vary widely, from around $200 for a set of lowering springs to several thousand dollars for a high-end coilover system. A moderate upgrade package including springs, shocks, and sway bars might cost between $800 and $1500, not including installation if you’re not doing it yourself.
Can I install coilovers myself?
Installing coilovers is a moderately complex job that can be done at home with the right tools and knowledge. However, it requires a good understanding of suspension components and proper safety precautions.
If you’re not confident in your abilities, it’s best to have a professional handle the installation.
Will lowering my car affect it’s warranty?
Lowering your car can potentially affect your warranty, especially if the modification leads to damage of other components. It’s best to check with your vehicle’s manufacturer or dealer about their specific policies regarding suspension modifications.
How often should I replace suspension components?
The lifespan of suspension components varies depending on driving conditions and the quality of the parts. As a general rule, shocks and struts should be inspected every 50,000 miles and replaced if necessary.
Other components like control arm bushings and ball joints should be checked during regular maintenance intervals.
What’s the difference between coilovers and lowering springs?
Coilovers mix the spring and shock absorber into one unit and offer adjustability in both ride height and damping. Lowering springs simply replace your stock springs to lower the vehicle but don’t offer the same level of adjustability as coilovers.
How low can I safely lower my car?
The safe lowering limit depends on your specific vehicle and how you use it. As a general rule, lowering by 1-2 inches is usually safe for most vehicles.
Lowering beyond this can lead to issues with suspension geometry, ground clearance, and component wear.
Do I need an alignment after changing my suspension?
Yes, an alignment is crucial after any suspension modification that affects ride height or component positioning. Skipping this step can lead to uneven tire wear and poor handling characteristics.
Can upgrading my suspension improve my fuel efficiency?
While suspension upgrades primarily affect handling and ride quality, they can indirectly impact fuel efficiency. Lowering your vehicle can reduce aerodynamic drag, potentially improving fuel economy slightly at highway speeds. However, the effect is usually minimal and shouldn’t be the primary reason for a suspension upgrade.
What are the signs that my suspension needs upgrading?
Signs that your suspension might need upgrading include excessive body roll during cornering, a bouncy or unstable ride, uneven tire wear, nose-diving during braking, or a general feeling of vagueness in the steering and handling. If you’re experiencing these issues, it might be time to consider some suspension improvements.
Key Takeaways
- Understanding your goals is crucial before starting any suspension upgrades
- Start with basic upgrades and progress to more advanced ones as you gain experience
- Always prioritize safety and proper alignment after modifications
- Be prepared to fine-tune and adjust your setup to find the right balance
- Regular maintenance is crucial for long-term performance and reliability
- Document your modifications and their effects to inform future decisions
- Consider the balance between performance and comfort, especially for daily-driven vehicles
- Research local laws and potential warranty implications before making modifications
- Don’t be afraid to seek professional help for complex installations or tuning